
Our Floor Coating Process
The same process applies whether it's a garage, a commercial floor, or a pool deck — what changes between projects is the coating system and the specific prep required, not the steps we follow to get there.
Project Discussion & Site Evaluation
We look at the space, discuss how it's used, and get a first read on the slab's condition.
Substrate Assessment
Checking for moisture, prior coatings, cracks, and contamination before recommending anything. See our surface preparation page.
Coating Selection
Matching epoxy, polyaspartic, or a decorative system to the space's traffic, sun exposure, and your timeline.
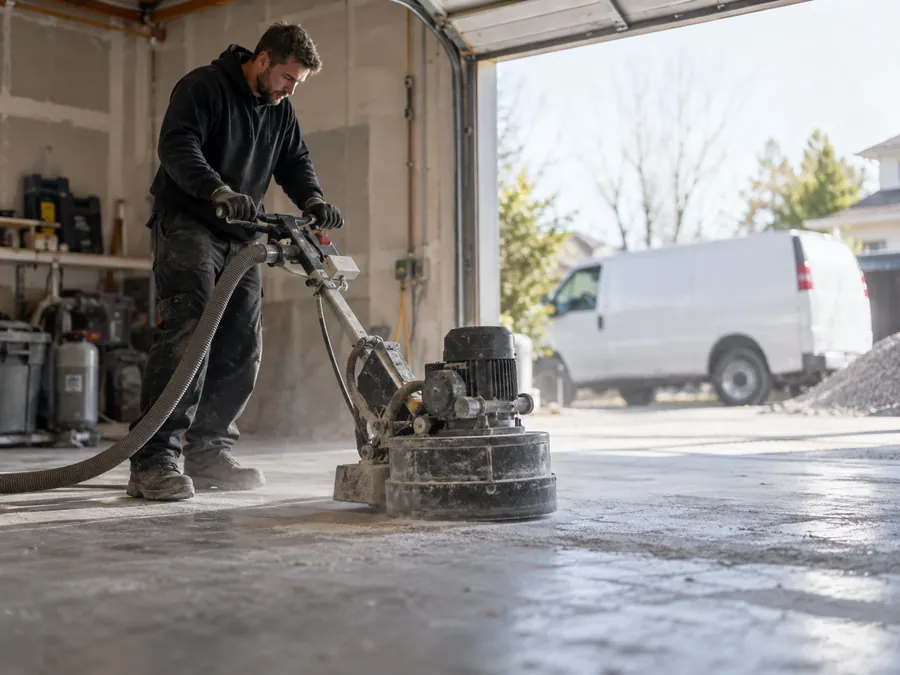
Surface Preparation
Diamond grinding, cleaning, and removal of any existing coating or contamination.
Crack & Defect Repair
Routing and filling minor cracks; flagging larger structural issues before coating over them.
Base Coat Installation
The primary bonding layer applied to the prepared surface.
Decorative Layer (If Applicable)
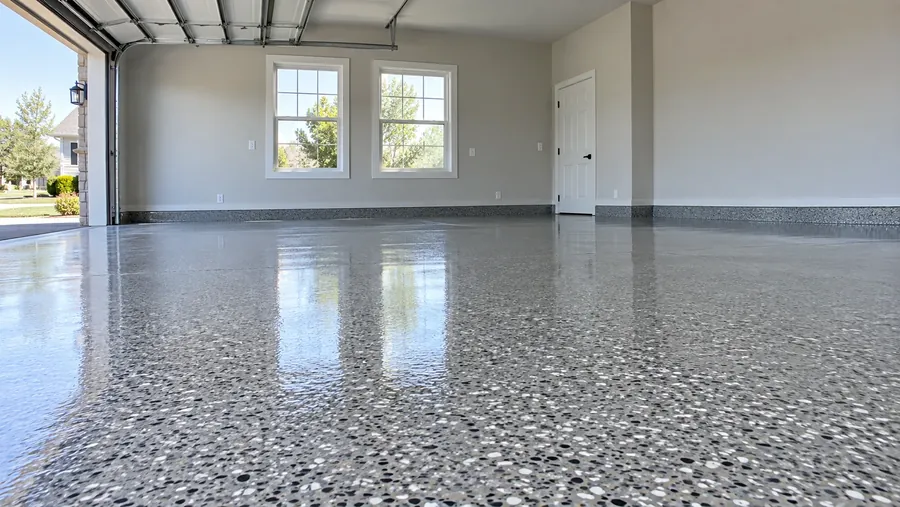
Color flake or metallic pigment applied for projects using a decorative finish.
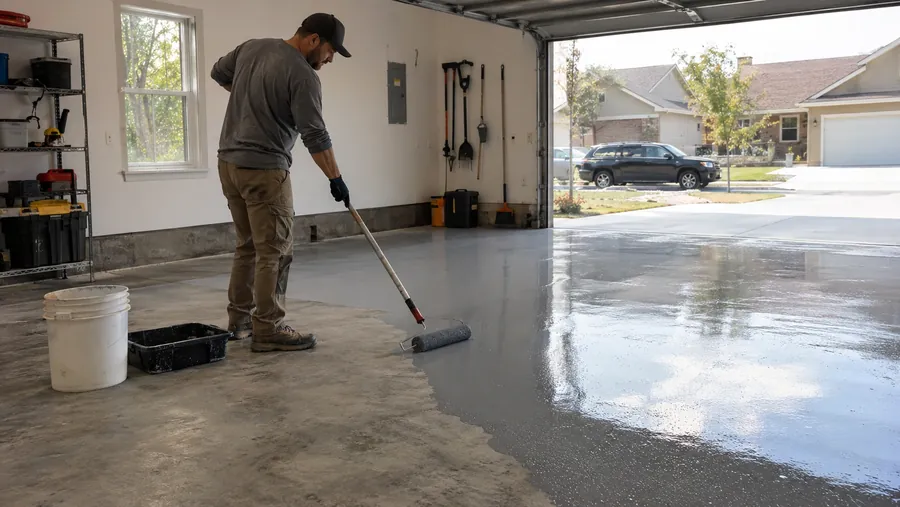
Topcoat
The protective final layer, with a slip-resistant additive where needed.
Cure
Cure time varies by system — polyaspartic generally faster than standard epoxy.
Inspection & Care Guidance
A final check of the finish, plus what to expect and how to maintain it going forward.
Related Pages
Concrete Surface Preparation
The step this whole process depends on.
Learn moreGarage Floor Coatings
See the process applied to a garage project.
Learn morePolyaspartic Coatings
How the faster-curing system changes the timeline.
Learn moreRead more about who's behind this process on our About page.